Tuesday, September 1, 2015

2015 Fabri-Quilt New Block Blog Hop

 I want to say thank you to the Hosts of this blog hop - Yvonne @QuiltingJetgirl, Stephanie @Late Night Quilter, Terri @Child Like Fascination, and my host Cheryl @Meadow Mist Designs. Each day this week the bloggers involved will be posting a block they have designed with the beautiful colour pallet of fat 1/8's provided by Fabri-QuiltWatermelon Summer - Chartreuse, Turquoise, Coral, Aqua, Lapis Blue, White. We had to create a 12 1/2 inch finished quilt block and share the 

The first thing I did was get out my graph paper, pencil and ruler. When I decided on a modified drunkards path I got out the template plastic and traced around the pieces and then added a 1/4 on all sides for seam allowances. 


I marked centre positions to help later in lining up the curved edges. I did come into a little trouble with the marks but I worked it out.  


The picture above I have included the finished sizes of all the pieces.  When I made my templates a 1/2 inch was add to all these measurements. 

Next I took my handy Masking Tape. I put two small rolled pieces on the back of my templates to hold them in place on the fabric.


Next I used my rotary cutter and rulers to cut as much of the piece as I could - be careful not to cut your template.  After cutting that way I used my marking pencil to mark the curved edge (I used the bottom of my Extra Large Tim Hortons Cup for the curve shape). I then removed the template from the fabric and cut the curve with my fabric scissors. 


Make 4 of piece A and four of piece B. I off set these blocks with a 2 inch (1 1/2 inch finished) solid white square in the center of the blocks.


For the next step get out your pins! I know there are some people out there with crazy mad skills that can sew a curve without pins but not me. I pin at the start and end of the piece. Then I head to the curve. I pin at the center point and at the beginning and end of the curve at fill in pins as needed to keep the piece even and smooth. When placing your pins put them in at the 1/4 inch seam line, this will help give you a true look at keeping the line smooth and without puckered. 


Sewing around the curves can be tricky. I sew right up to the pins and then remove just before sewing that spot. Take your time around the curves.


Sew all the units together and press toward piece A. If you need to, trim the rectangles to 7 1/4 inch by 5 3/4 inch. Sew the center white square to the center edge of one of the units stop a 1/4 inch from the interior side. Once this is done take the opposite colour unit and place it along the side with the center square. Keep adding the pieces in a round the center square. The final piece will then take in the 1/4 inch left loose on the center square.


 I usually piece and press making seams go opposite ways to get them to line up nicely. However with this I wanted the seams to play a part in the quilting effect later so all seams were pressed in one direction.  A trick I learned a few months back from Patti Carey was to pin them as if they are opposites and then just before you sew that area flip the seam back the way it was pressed.

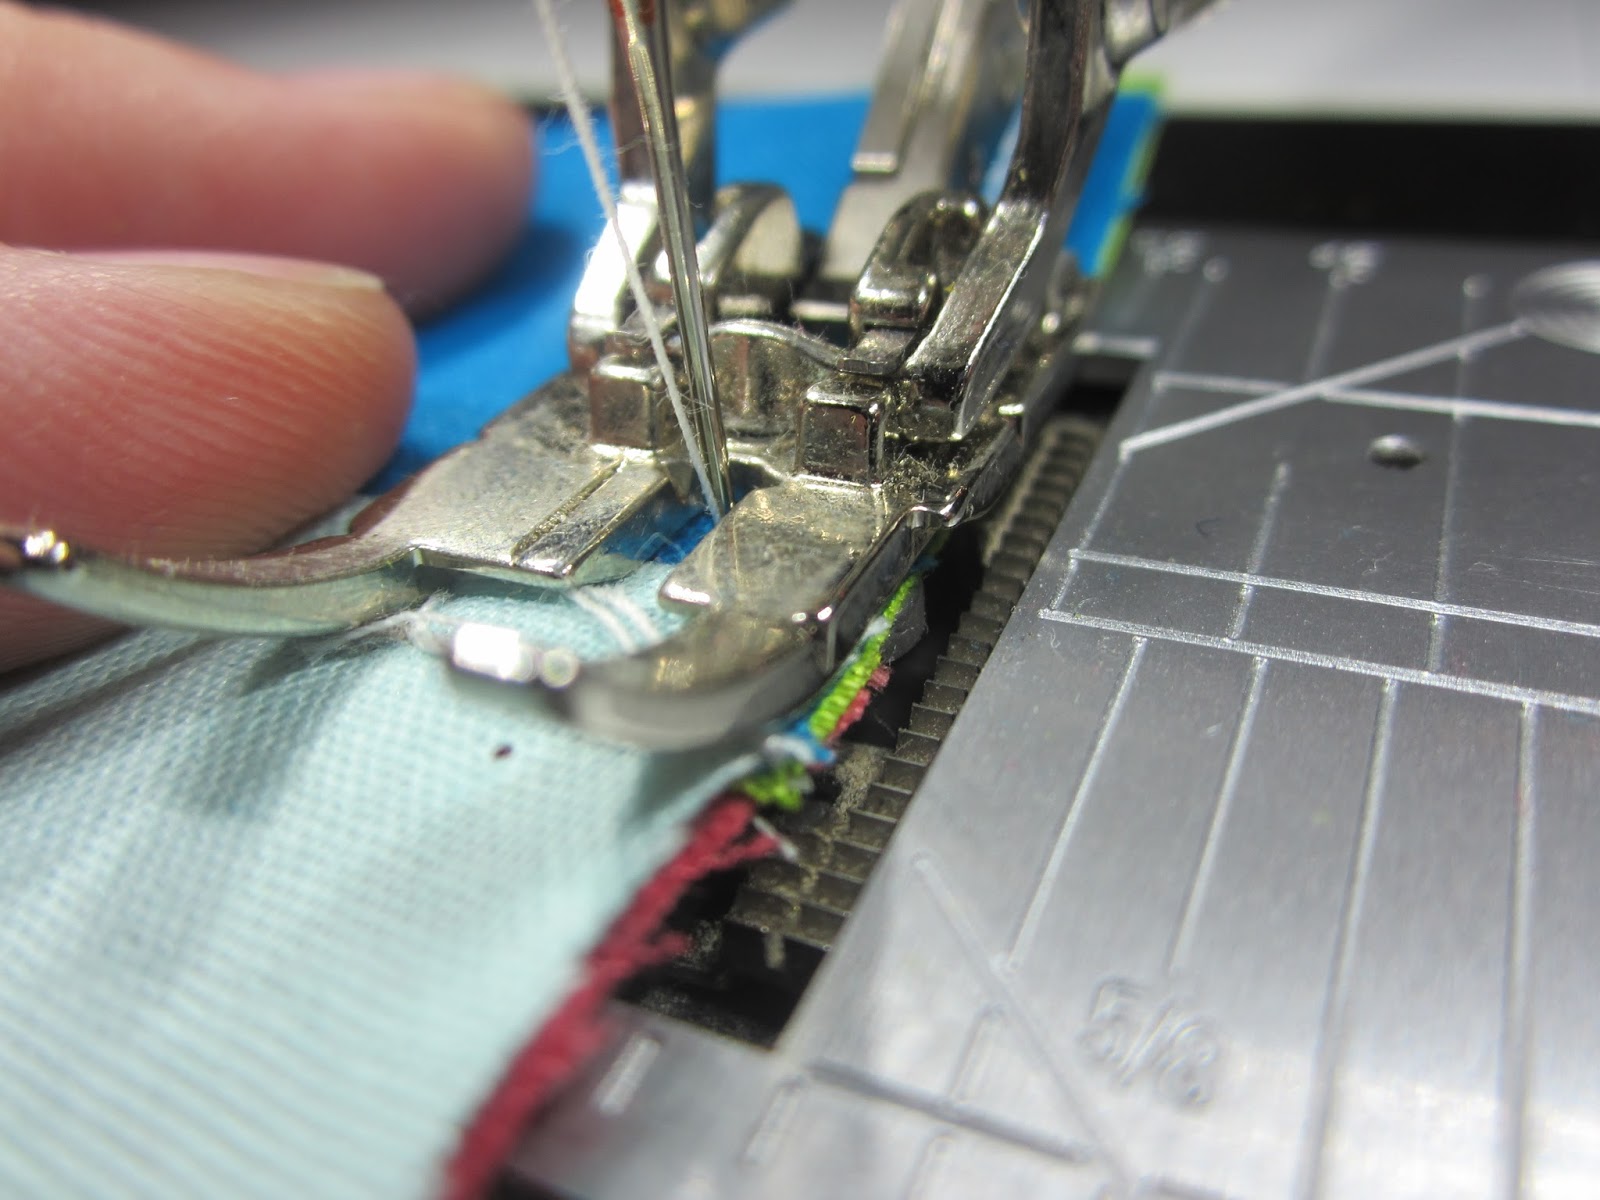

When you have finished putting all the units around the centre square give them a press in the order you added them. The seams will lay nice and flat and your block is finished.


I call my block Watermelon Slice!


My husband thinks it looks like a T.V. from the 70's.
Thank you for stopping by my blog. Don't forget to stop by the other blogs posting today and all this week. Each host of the hop is doing a give away sponsored by Fabri-Quilt so don't forget to stop by all the amazing blogs participating in this fun event.

After all the blocks are created they are going to be made into quilts for charity. I am so happy to have been part of this fun project.  Here is a list of all the members of my posting day!

My host Cheryl @Meadow Mist Designs
Cindy @Sewing Moxie
Stephanie@Quiltn Party
Sarah@123 Quilt

Thank you Fabri-Quilt for sponsoring this block hop! 

Post again soon.

Thursday, August 13, 2015

Adventure in simple multi-hoop embroidery!

I don't really have much of a chance to do machine embroidery. My sister who also works at the store part time has really hogged the embroidery machines since the beginning and hey who am I kidding I have all my time filled with quilting! But while my mom was away a lady came in and wanted to get a little embroidery made up for a group to which she belongs.

I marked the fabric with guide lines to keep my designs centred.

I then hooped just the stablizer. I always have a hard time keeping the stablizer and fabric centred in the hoop. I hoped to make a crease in the stablizer to keep it in place while I positioned the fabric. It sort of worked.


After that I hooped the fabric loosely in the hoop and used the grid template to line up the correct position of the fabric. That took a few tries to get right but after it was lined up I tightened the hoop and was set to embroider.


A close-up of the machine in action. After the first word was centered and stitched I followed the marking lines I had drawn and hooped again for the other words. It was a little fly by the seat in the multi-hoop department because I was relying on my markings and not markings made by the machine to line up the designs but I was very happy with the result.

I used the Bernina V.7 software and played with the text features. You can arc the text a few different ways and they font it self can be manipulated in many ways. At first I found digitizing designs, even something as simple as text, to be too intimidating. But I am now learning the ins and outs and I am loving it. Its has really got my design wheels turning! 

Post again soon!

Saturday, August 8, 2015

Foundation Paper Piecing!

I am going to give a few quick tips for Foundation Paper Piecing. I love, love, love paper piecing. When I first started quilting and my 1/4 inch seam wasn't the stunning perfection it is today, Paper Piecing made it look perfect. You can use this technique for traditional pieced blocks too! A quick disclaimer though... If you are fabric stingy and hate waste you will need to get over that to do my way of Foundation Paper Piecing.
My colour palette inspiration!

Foundation Paper Piecing is a great way to use pieces that would otherwise be too small on quilting projects. But if you like a little more order and continuity to your quilts like I do you can find out what size pieces you need by measuring from the sewing line to the opposite side. You need to make sure you leave enough extra to account for human error and I like to leave 1/2 inch extra on all sides.

Some tools I find really useful for paper piecing at the add a 1/4 ruler, a fabric folding pen, sharp pointed tweezers, scotch tape and a small cutting mat! Plus all the other regular sewing tools.


I do a rough pre-cut of my fabric, some people make templates to make sure the size is right. I cut up one of the blocks for a template but I don't actually cut the fabric to the template size I just make sure the template fits on the fabric I have. To make sure that my rough cut will fit the size of the pieces I measure from the first line of sewing. When sewing piece 1 and 2 for example I measure from the line between section 1 and section 2 for both pieces. For piece 3 I measure from the sewing line between section 2 and 3.  I leave my pieces in rectangle form because well I just don't like to wast time cutting little pieces. (I save all my little cut off ends in scrap bags and we sell them in the store or if they are too small for most people to use some of our customers have started to save them to use in dog beds for the animal shelters! What a great way to use those little tiny bits.)

The important thing to remember with Foundation Paper Piecing is that you will be sewing from the wrong side. Your fabric will be on the bottom and the paper on the top.  To start sewing take piece 1 place it right side away from the paper making sure it covers the whole space and over laps into section 2 by at least a 1/4 inch. Use your scotch tape, I make sure to make it a little less sticky by putting in on and off the table a few times or off the back of my hand, tape the fabric to the paper. Don't put the tape in any of the  areas where you will be sewing or you will sew right through it. (Picking bits of tape off is not fun trust me!) Next take piece 2. Line it up along the edge of piece on with right sides together, I like to do a quick check to make sure when I sew it together it will in fact cover my next section. Slide the fabric along the edge of piece 1 until you are sure it will in fact cover the next section completely after sewing and tape to the paper.

Flip the paper and fabric over so you can see the printed pattern. Shorten your stitch length to 2. The smaller you stitch length the easier it will be to remove the paper later. Sew two or three stitches before the line and back stitch this will anchor your stitching, don't stitch more than that or you will cross into the next areas sewing space and it will cause issues, try to stay with in the coming seam allowance.

After you have sewn piece 1 and 2 along the line leave the fabric right sides together, you will now need to go to your cutting board. Fold the paper along the line between 1 and 2. Take your Add a 1/4 ruler and trim the fabric to 1/4 inch. This is your seam allowance, you should only need to do this step for piece 1 and 2.  Next fold the paper back flat, take your fabric folding pen and apply it to the sewn line and fold piece 2 over so right sides are out. Let this dry.

Next fold the paper along the line between section 2 and 3. Take your add a 1/4 ruler, butt it against the fold and trim the excess fabric. Once you have trimmed this you will then have an accurate edge to place piece 3. Fold the paper back to flat. Line piece 3 along the cut line, make sure it will cover the next area and tape to the paper. Sew along the line anchoring the stitches at the start and end. Repeat until all the pieces are add.
Trimming down along the line between 2 and 3!
Adding piece 3!
Once all the pieces are added to the paper. Take it to your ironing board and give it a final heated press. After everything is laying flat, sew 1/2 away from the outer edge of the design with a basting stitch. This will keep everything tidy while you sew the rest of the parts together. Trim off any further excessive fabric or paper.

Sew the pieces together in numerical and alphabetical order. You will now need to remove the paper, the larger pieces should come off fairly easy. The seam allowance papers will be tougher tweezers will help get the paper out.

Come back and check out the final finish soon!

Tuesday, July 28, 2015

Brother Fashionista NQ3500D Review

Hi Everyone. So I may or may not have said before that at my mom's quilt shop JoyQuilts we are a Brother Dealer. Brother had a new line come out that we haven't seen before and they let us borrow one for a week to check out the features of the new line.


One of the things I love about Brother is that it is accessible and user friendly for the novice to the experienced quilter. Every machine from Brother that I have had the chance to check out has an amazing user manual and well label pictograph icons making it easy to reference and remember each function.


Plus if you are a Disney fan Brother has exclusive 35 Disney Designs built-in.


 Included with the machine two embroidery hoops 5 x 7 inches and 6 x 10 inches and 138 non-Disney Designs . This machine also has 360 degree sewing  sideways motion stitches


The above hoop is 6 by 10 inches! It has lots of room to stitch your designs.


The is the 5 by 7 inch hoop. Great for making those all important quilt labels. 


 The seasons were built-in designs Fall and Summer were in there too!


I did a little basic sewing, experimented with sideways motion stitches, and a few embroidery designs. I loved the ease of use. I found winding a bobbin and threading to be a breeze and the needle threader works faster than you can snap your fingers.

 The above is a decorative stitch I designed right on the machine. This is a neat feature from Brother.


These two pics are the sideways motion stitches built in to the machine. Add decorative stitches to you quilt sashing or any other project you have on the go!

I really feel if you are a novice you can get great results for your sewing or embroidery. If you haven't started embroidery and are looking to get into the embroidery world this would be a good place to start. Fashionista NQ3500D

Post again soon.
Adrian


p.s. These are my opinions. I have not been paid for this review I just wanted to share the fun I had this week trying out this machine!

Tuesday, July 21, 2015

Seminole Table Runner Finish

So I have finally finished quilting the Seminole Table Runner I showed in my last post. I am a little later posting than planned. Its been a rough couple weeks schedule wise around here but it is finally finished.

I really love quilting and trying new techniques together with tried and true methods. For me the tried and true method is FMQ with my BSR. New to me is walking foot quilting. I have used my walking foot in the past but I never quite got the results.

First things first I pin basted my layers together.


 To finish off this runner I used 100% cotton batting and a thermal fabric backing that way it can stay on the table during dinner and will take the place of trivets and pot holders. I grew up in a large family but we only have one stove top and sometimes a dual oven but to get the meal on the table and keep it hot we were rotating things in and out of the oven and always looking for pot holders to protect the table cloth and table. I used my dual feed foot (built in walking foot) to stitch in the ditch around the center patchwork. When doing stitch in the ditch I usually use my BSR, that way if my seams aren't quite straight or laying flat I can make the stitching fit at the ditch.


When I do use my walking/dual feed foot I do a finessing to make sure my stitch ends at the points. By using the hand wheel on my machine I can make the stitch a little longer or shorter to make it end where I need it.


Next I used my BSR to add detail quilting in the centre four patches. In the black square I added a triple petals and in the gray I did a side to side wave.  I moved across the centre of the quilt from end to end for the swirl and then added the triple petals after.


After the center four patch was done I put my 1/4 inch dual feed foot back on and stitched point to point  in the background fabric. I then also stitched a 1/4 inch on either side of the first stitch line.


When I got to the outside on the centre patch work I used my Hera Marker from Clover to mark the straight lines. I no longer had a point to shoot for with the stitching and adding the crease line from the Hera Marker made it easier to stay on the straight in relation to the rest of the lines.


Instead of cutting my thread when I reached and end point I back stitched/stitched in place to knot my thread and did a jump stitch. I usually do this when a jump stitch will waste less thread than cutting the thread and starting it again. If you use this method make sure you get a good knot in your thread otherwise you will lose your stitching and have to do it all over again. After I was done stitching I went back and clipped all the jump stitches.


After the middle of the runner was complete I used the dual feed foot and stitched in the ditch around the borders. Finally the runner was done, except for the binding, aka my least favorite part.


Thanks for stopping by!

Adrian