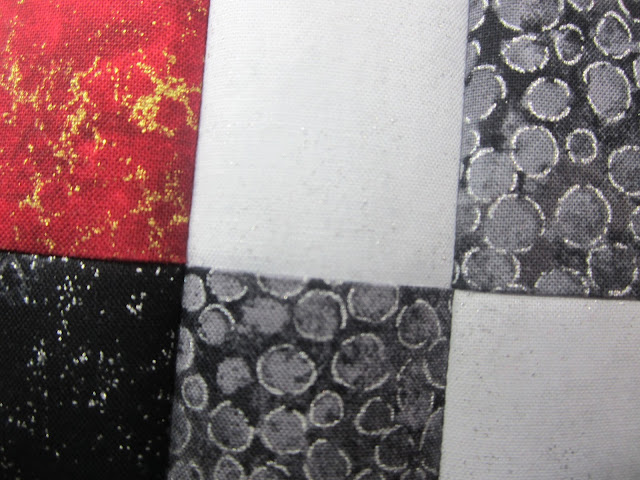
While my mom has been away in Alberta visiting my brothers, I have been busy working on store samples and getting ready for some late summer and fall classes. This post is for the Atkinson Designs Seminole Table Runner.
My first step was fabric selection...
Right now I really love using the Artisan Spirit Shimmer Collection from Northcott Fabrics. I chose a Black, Grey and Red palette.
My first step was fabric selection...
Right now I really love using the Artisan Spirit Shimmer Collection from Northcott Fabrics. I chose a Black, Grey and Red palette.
I just love this whole line. On to the pattern. I find patterns from this company really quite awesome. For this pattern the diagrams were great and the cutting instructions fantastic. My only complaints were the pressing instructions, some reverse sewing and the left over fabric (but who can't use extra fabric).
They have you start by making four patches. Sew the two strips together, Press to the background fabric. Sub-cut the strip set into smaller pieces then sew them back together. Voila! Four patch!
When making multiple strip sets for a project I match the same ends together to help insure the same number of sub-cut pieces. I make sure when piecing that I keep the fabric from peaking out from under my 1/4 inch foot and I use the markings on my stitch plate and the bed of the sewing machine to keep my sewing straight.
Then the pattern has you sew another strip set together. Which gets sub-cut and then added to either side of the four patch. When sewing long strips together even from the same collection the width of the fabric can vary. The directions at this point have you start pressing one strip set one way and one the other. By pressing in opposite directions you can't but the seams together for this step however.
At this point in construction I pressed toward the red and in the four patch I kept the pressing to the background. I used the iron for the preliminary press but then finger pressed and pinned to get the seams to but against each other.
For the next step you make another strip set of background and Red. Sew the strips together then sub-cut and add them to either side of all but two pieces, only add them to one of the sides on those two. Once this is done they want on two more the full pieces for you to remove the background from one side of the piece.
Leave the four odd men out until the last step and piece the rest together matching the two contrasting colours, in my table runner it is the black and dark grey. They will form the centre of this runner
.
When the full pieces are together you can now add the odd men out.
Its a little weird you need to continue the off setting of the pieces and then we will trim them down.
We now add two strips to each side of the ends, add some more background grey to the centre of the runner. The directions say to lay it as flat as possible, lay the strip next to the spot on the runner and sew it together, trim off the excess. I really hate doing it that way so I measure the side and cut the strip to fit. I did this for both sides and both ends of the runner.
Next you trim off the jagged sides. Pay close attention to this because we are now making this a biased edge runner.
We now get to add the narrow inner border, I chose the black!
Next up trimming of the ends to make the angle and adding then end pieces. This is done for the inner narrow border and the outer border ( I missed taking photos of that step in black but I have it in red!)
Again when adding these pieces the directions show sewing them on without measuring and cutting them to length after. I didn't do this I measured, sewed and trimmed off to make the angles.
The runner is now complete!
This is me pinning it to the 100% cotton batting and Thermal Fabric backing! Come back next week to see the quilted finish!
Thanks for stopping by!
Adrian


You can never go wrong with black, white, red and gray. Can't wait to see it finished.
ReplyDeleteGreat color scheme, so classic.
ReplyDeleteReally pretty, Adrian. I made a couple very similar to this years ago as gifts, but the edges stayed zigzag fashion and you turned it pillow cover style. I can see you doing some pretty cool quilting in the negative space!
ReplyDelete